7.2 Intercom
Intercom for driver and passenger communication with two-way radio and Bluetooth music. It is the remote-head version of the Rugged STX, so the control knob sits on the dash and the intercom box mounts out of sight behind it (owner, 2026-09-25).
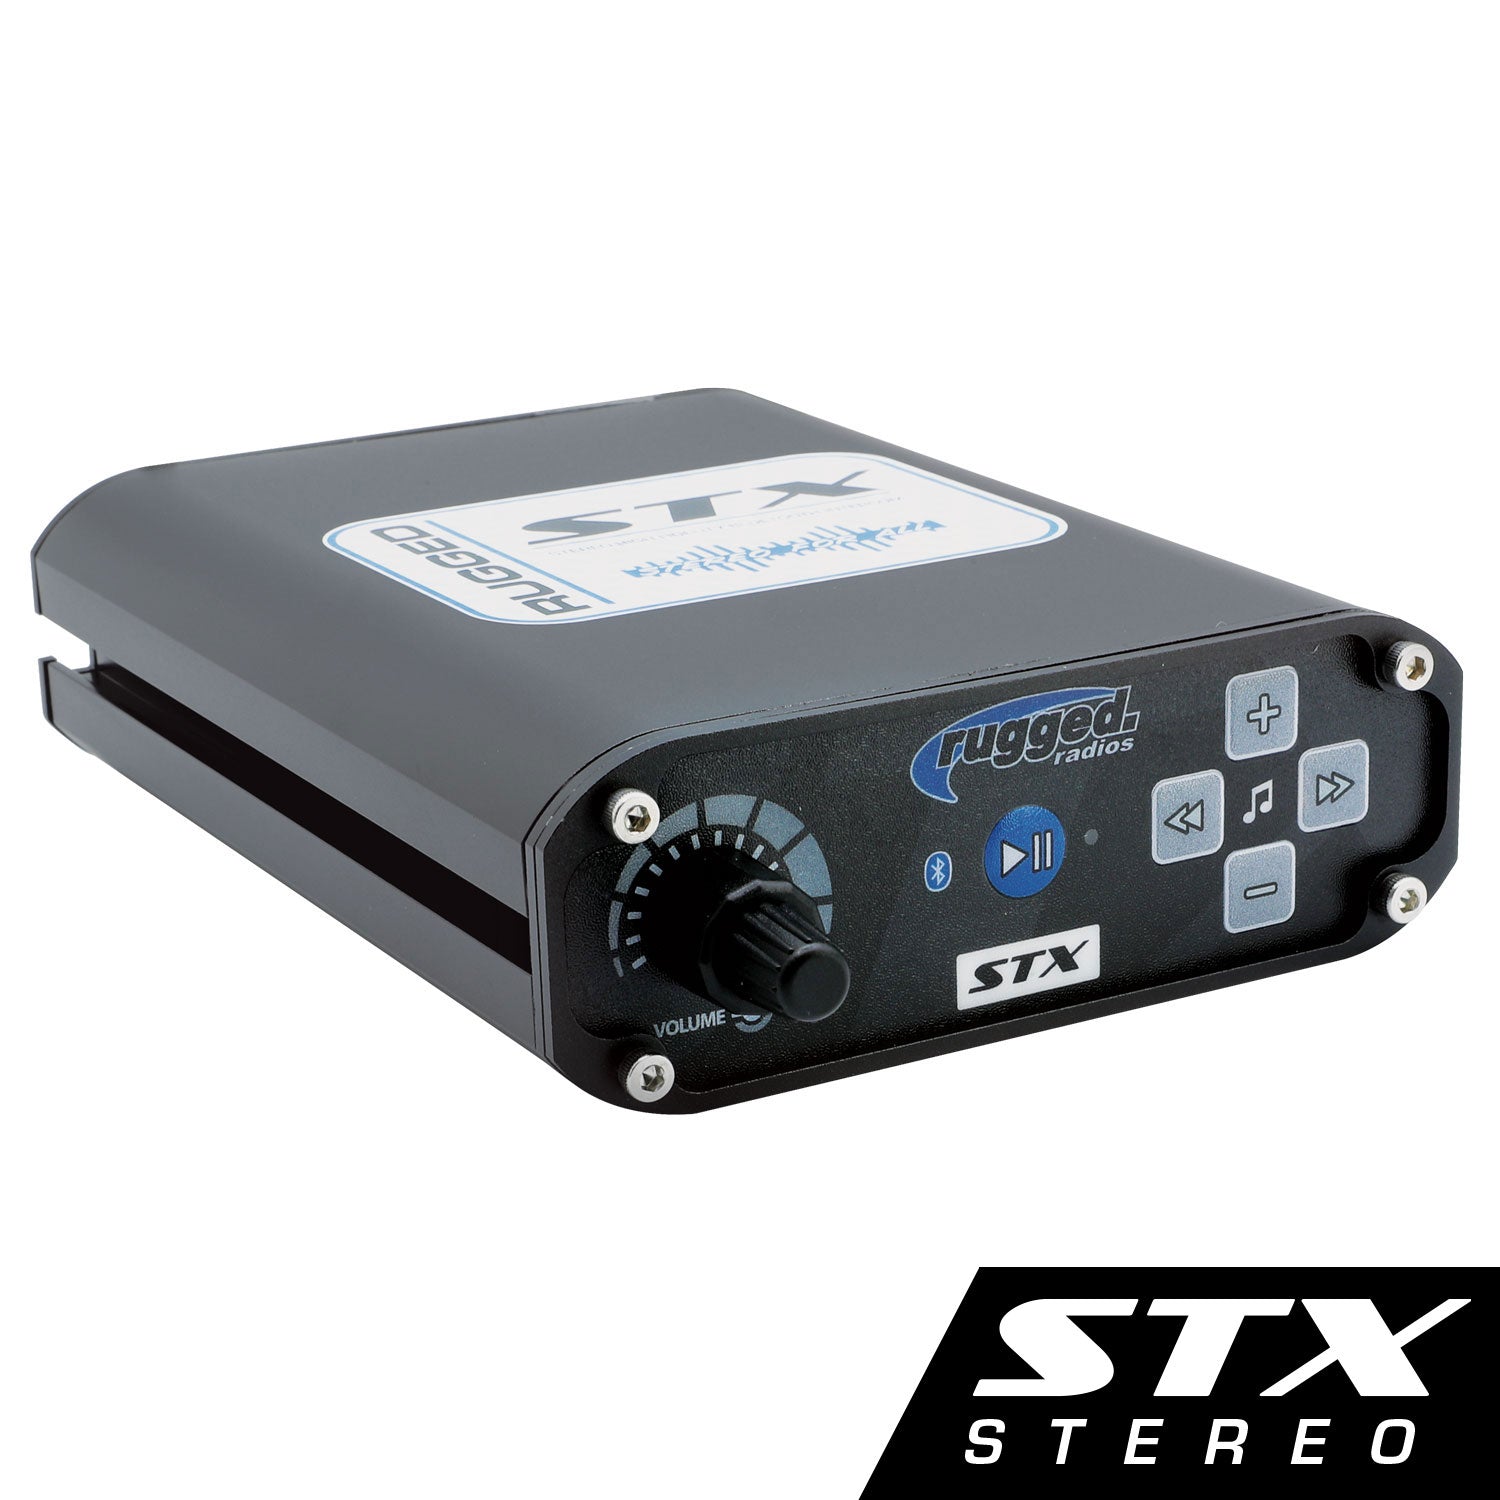
Type: Remote-head intercom, 2 to 5 seats
Model: STX Remote Head, Stereo (SKU STX-RS)
Manufacturer: Rugged Radios
Product Page: Rugged Radios STX Remote Head
Manual: STX Remote Head Intercom User Manual
Mounting: Remote head in a standard rocker-switch hole on the dash; intercom box behind the dash, within reach of the remote head's 39 in cable1
Power Source: PMU OUT20 (7 A output), on with the ignition
Specifications
| Spec | Value |
|---|---|
| Seats | 2 to 51 |
| Remote head | Fits a standard rocker-switch hole1, 0.83 x 1.45 in (21 x 37 mm)3 |
| Remote head cable | 39 in, waterproof multi-pin connector with a threaded nut at the intercom box1 |
| Input Voltage | 12 V; Rugged says to connect power directly to the battery2 |
| Current Draw | Not published. The load analysis uses estimates of 1 A standby and 3 A while transmitting |
| Intercom box size | Not published |
Remote Head Controls
From the STX-RS user manual, p. 1:2
| Control | Function |
|---|---|
| Outer ring (A) | VOX sensitivity |
| Center knob (B) | Volume; turn to switch the intercom on or off |
| Blue LED (C) | Power on |
| Phone button (D) | Answer or hang up a call |
| Play/pause button (E) | Play or pause music |
| − / + (F) | Quick press: volume down/up. Long press: skip back/forward |
Features
From the STX-RS user manual:2
- Bluetooth music and phone calls. Only the driver can speak on a call.
- Music dims when VOX opens a mic.
- Driver and co-driver push-to-talk (PTT) transmit over the connected radio. Each PTT keys only its own mic.
- Received radio audio is set by the radio's volume knob, not the intercom's.
- The radio works through the intercom: headsets hear it, and the PTT buttons transmit on it. Only the radio's own hand mic is not used with the intercom. Rugged recommends keeping it in the vehicle for emergencies and powering off the intercom to use it.
Ports
The intercom box's ports, from the wiring diagram in the STX-RS user manual (p. 2). Rugged says it is a universal diagram and the exact set can vary by kit.2
| Port | Function | Connection |
|---|---|---|
| Remote head | Controls | Remote head in the dash, 39 in cable |
| Driver headset + PTT | Driver headset and push-to-talk | Driver headset; PTT on a coil cord |
| Co-driver headset + PTT | Passenger headset and push-to-talk | Front passenger headset; PTT on a straight cord |
| CREW (3) | Additional headsets | Rear left, rear right, one spare |
| RADIO | Two-way radio | Rugged G1, mounted overhead on the roll cage |
| RADIO GAIN | Radio audio level | Set at install |
| AUX OUT | Intercom audio out, 3.5 mm TRS | Not used. It is an output only, so music reaches the headsets over Bluetooth |
| POWER | +/− | See Wiring |
Headset Configuration
| Port | Position | Jack Location | Cable Length |
|---|---|---|---|
| Driver | Driver | Intercom box (behind dash) | Not chosen |
| Co-driver | Front passenger | Intercom box (behind dash) | Not chosen |
| CREW 1 | Rear left | Driver rear wheel well | Extended |
| CREW 2 | Rear right | Passenger rear wheel well | Extended |
| CREW 3 | Spare | - | - |
Wiring
| Connection | Wire | Source | Notes |
|---|---|---|---|
| Power (+) | 14 AWG | PMU OUT20 | Via firewall grommet |
| Ground (−) | 14 AWG | START battery neg | Direct for audio quality |
| G1 Radio | Intercom cable + 5-pin extension | G1 rear intercom port, overhead on the roll cage | Audio/PTT/mute. Runs from the cage down to the intercom box behind the dash |
Installation Notes
- PMU output has integrated overcurrent protection - no inline fuse needed
- Rugged's manual says to run the intercom's power straight to the battery and not inline with other components. It warns that tying power to ignition, lights or other sources can cause a ground loop and noise.2 This build switches it from PMU OUT20 and runs its ground straight to the START battery−. If noise shows up, Rugged's fix in the same manual is its optional Active Filter, with the radio and intercom power leads connected to the filter instead of the battery.
- Rugged: do not mount the radio or intercom near an ignition box, and route the antenna cable away from power and headset cables.2
Build Tasks
- Choose the dash position for the remote head and cut a 0.83 x 1.45 in rocker-switch hole
- Mount the intercom box behind the dash within 39 in of the remote head
- Measure the run from the overhead G1 to the intercom box and buy a 5-pin extension that long. Rugged says one is needed when the radio is more than 1 ft from the intercom body (GMRS Radio)
Outstanding Items
TBD tracker unavailable
Could not reach the GitHub issues API at build time (network or rate limit). Set GITHUB_TOKEN to raise the limit.
Related Documentation
-
Rugged Radios, "STX - REMOTE HEAD - STEREO High Fidelity Intercom with Bluetooth Music" (SKU STX-RS): "fits in all standard rocker switch holes", "vehicles with 2 to 5 seats", "39\" cable"; includes the remote head, a slide-in intercom mount and mount hardware. https://www.ruggedradios.com/products/stx-remote-head-stereo-bluetooth-intercom (accessed 2026-09-25). ↩↩↩↩
-
Rugged Radios, "STX Remote Head Intercom User Manual", p. 1 (remote head controls A-F, VOX adjustment, 2-way radio use, AUX OUT) and p. 2 (connecting the remote head, wiring diagram, radio and intercom mounting, connect power). https://cdn.shopify.com/s/files/1/0240/3280/4960/files/STX-RS_User_Manaul.pdf (accessed 2026-09-25). ↩↩↩↩↩↩
-
Carling Technologies, "Switch Type": the standard full-size rocker switch mounting hole is 0.830" x 1.45" (21.08 x 36.83 mm). https://www.carlingtech.com/switch-type (accessed 2026-09-25). ↩